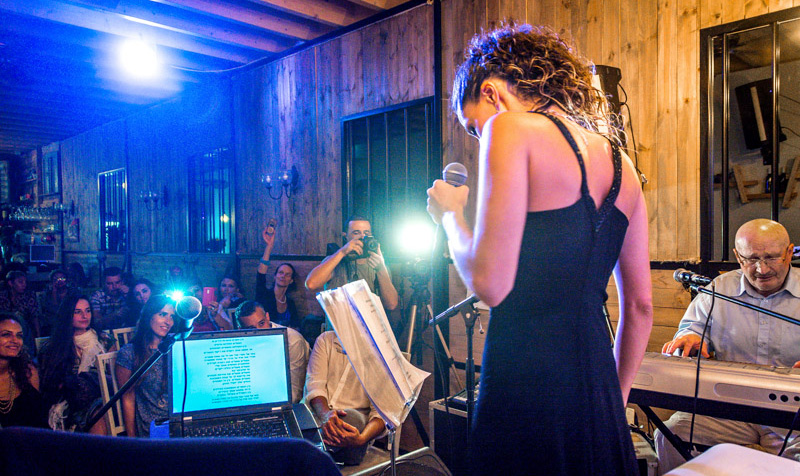
Shooting an event in low light without flash is quite a challenge, especially if you don’t have an expensive full-frame camera and a few wide apertures lenses.
If you have a more modest kit, such as a half-frame (APS-C or DX) camera and a cheaper zoom lens, you can still get good results by applying a little knowhow and using some sensible techniques.
On a recent shoot of the singer, Yael Feldman, in an intimate and dimly lit venue, I tested the popular half-frame Nikon D7100 DSLR camera and Nikon 18-200mm, F3.5 – F5.6 zoom lens. Here’s a few tips that might help you in a similar situation …
Hair, Flash and ISO
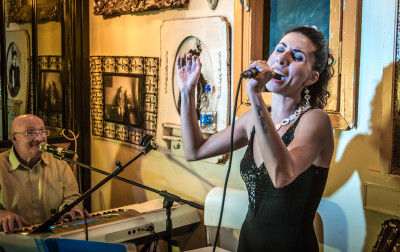
My first consideration was choosing the highest ISO that would still give adequate detail. High ISOs make hair look muddy, have grainy shadows, and loose fine detail. With the D7100 the maximum ISO I would use when shooting people is 1600. Lower ISOs are preferable, but require slower shutter speeds in low light.
I would have liked to use a flash gun, set to manual and half power, on a lighting stand a few meters in front of the stage. This would have been triggered using a radio transmitter on the camera’s hot shoe, and a receiver on the flash gun. I could have then used a lower ISO, but, as this was a small venue, flash would have been too intrusive.
The Venue and Raw files
The venue had a narrow, dimly lit stage with extremely limited space to shoot from at the front and to one side. As I like to shoot fast and intuitively, the 18-200mm zoom would give me the flexibility I needed.
The light was bluish at the centre of the stage and yellowish at either side, so I set the D7100 to save my shots as Raw files. This is absolutely essential in situations like this as Raw files record far more information than Jpegs. They can be processed in Adobe Lightroom to give you a wonderful amount of control over highlights, shadows, sharpness, grain, exposure and white balance.
Lightroom is the best way to process large numbers of shots, especially if groups of pictures share similar lighting. If you shoot more modest quantities, the free Adobe Camera Raw plugin for Photoshop does the same job, but is slower to use
Camera settings
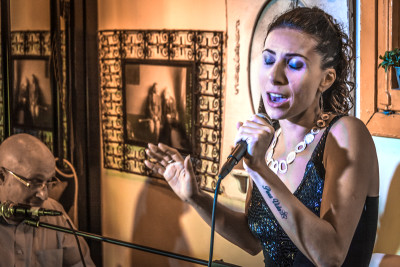
I set the camera to Manual mode, with both the white balance and ISO on Auto. The ISO was set to a maxim of 1600.
I set the 18-200mm lens to F3.5, its widest aperture at 18mm. The aperture varies when zoomed, but stays at its widest aperture throughout the zoom range. This lens gives good, sharp pictures wide open, especially at the shorter focal lengths I would be using.
I made a few quick test shots and found that speeds of around 1/60sec produced slightly dark but acceptable exposures. I judged this from looking at both the display and the histogram to check that I would not loose too much shadow detail.
I knew that the ISO would probably say at 1600 for all of the shots, but in the unlikely event of the light briefly brightening, the Auto ISO setting would prevent over exposure.
Sharp shooting
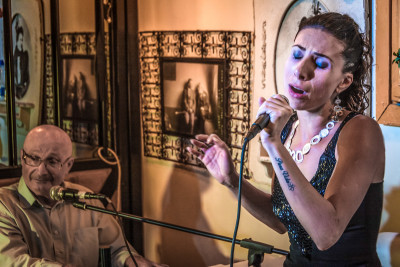
The 18-200mm zoom lens has Image Stabilisation, but it’s important to realise that this cannot stop blur caused by movements of the singer. Since I would be shooting at fairly slow speeds, I would have to carefully time my exposures, whenever possible, to coincide with still points in the performance. For instance, if she raised her hand or threw back her head I would shoot just at the moment of stillness in the action.
Image stabilisation does, however, help to minimise blur cause by camera movement, but I would still take the precaution of bracing myself and the camera whenever possible.
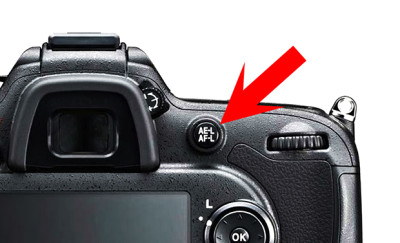
Back button focusing, recomposing, and breath control
Like many photographers I use back button focusing: This is a custom menu setting that transfers the focusing function to the button nearest my right thumb: Instead of half-pressing the shutter button to focus, a quick tap on the back button now is now used to focus.
The D7100 has several autofocus modes: I used the “AF-S mode” – one press both focusses and locks the focus.
Using the back button to pre-focus means that there is virtually no shutter lag when pressing the shutter button to take a shot. I’m more likely to catch the important still points in the singers performance using this technique.
I set the autofocus Area Mode to “Single Point”: In the viewfinder there is now only a single focusing point that can be moved around the screen and positioned over the singers face. A quick tap on the back button locks the focus. I can then recompose and press the regular shutter button when I wish to take a shot.
I frequently focus-and-recompose and also take two or three shots to ensure at least one of them will be sharp. I also briefly hold my breath as I press the shutter button to help minimise camera shake.
Techniques like these may seem laborious, but they work, and with practice become completely instinctive.
Results
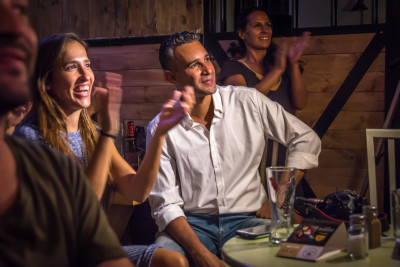
Despite low light levels, most of the shots were sharp and responded well to processing in Lightroom. I further edited a few shots in Photoshop – Lightroom is very useful for bulk processing but not as capable at Photoshop when individual pictures need more careful and detailed work.
The combination of the Nikon D7100 and 18-200 zoom was a pleasure to use and gave excellent results. Even with the annoying focus assist beam switched off it had no trouble focussing quickly and accurately. I had a good selection pictures to send to Yael who was very appreciative of the results.
